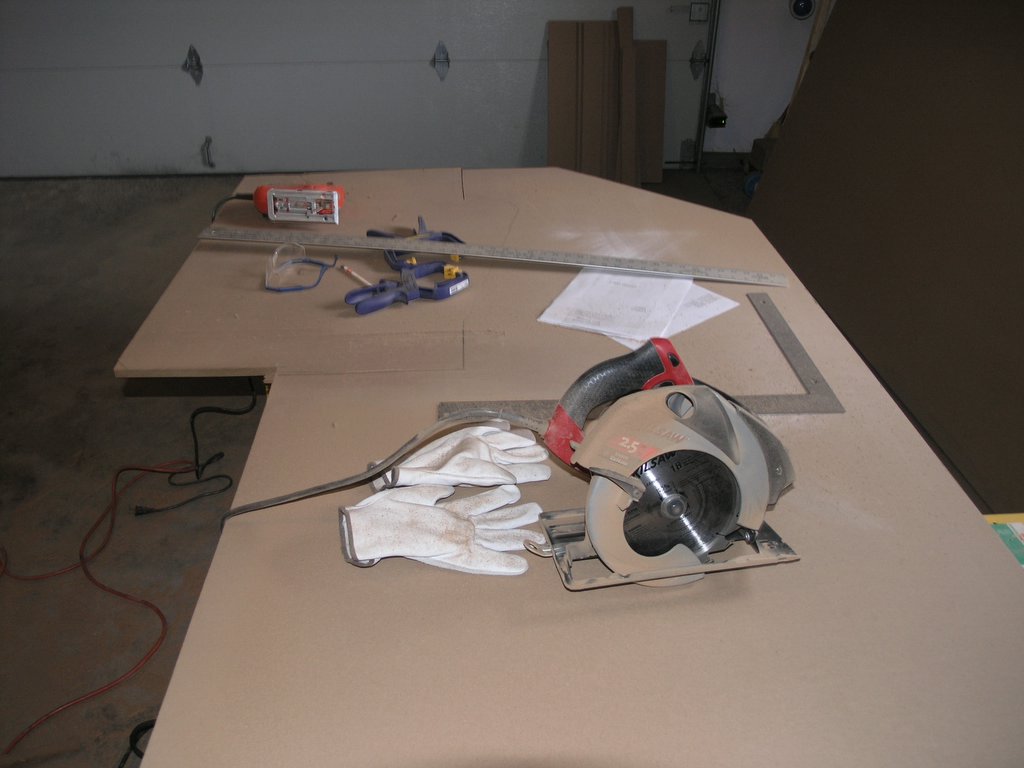
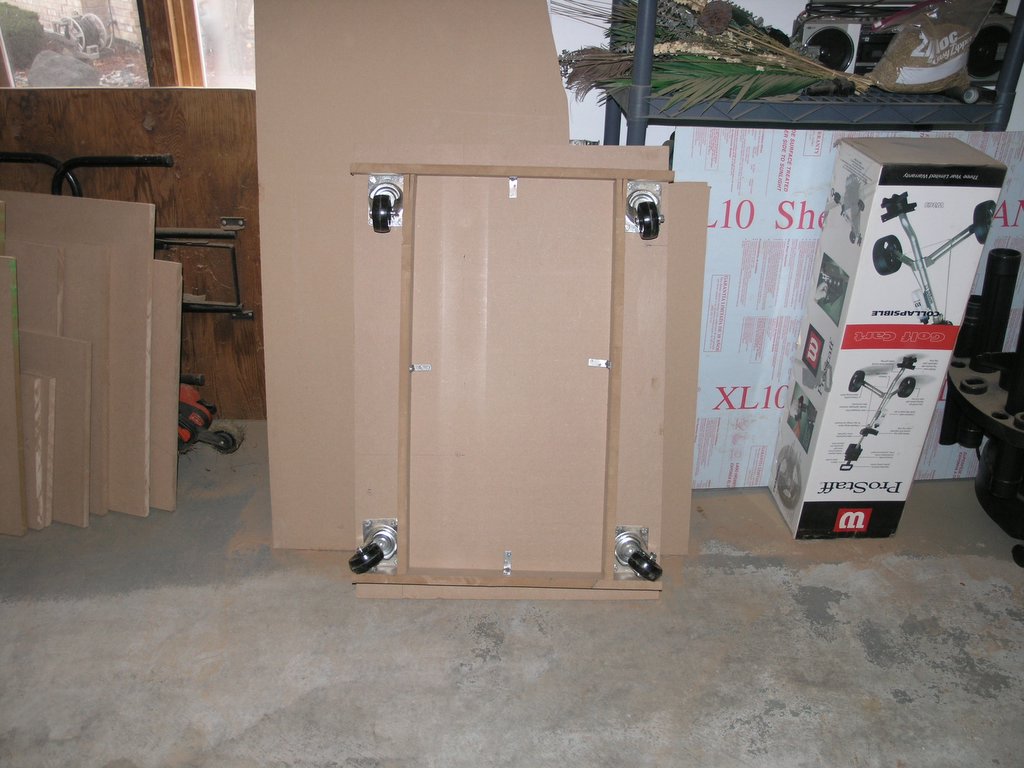
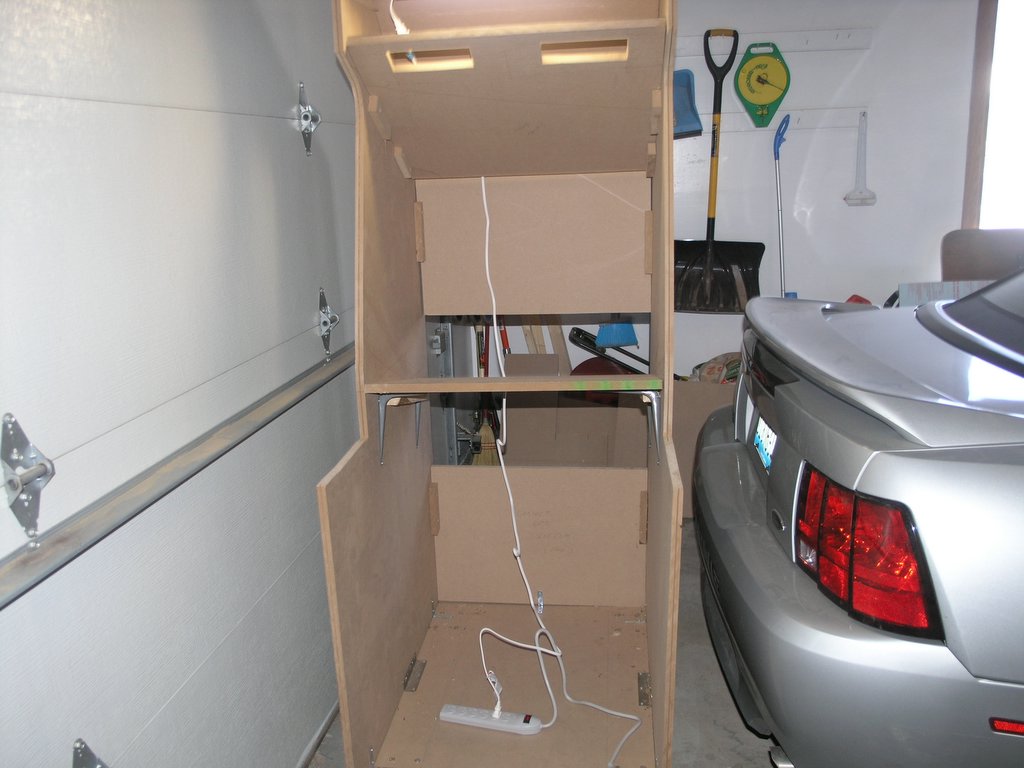
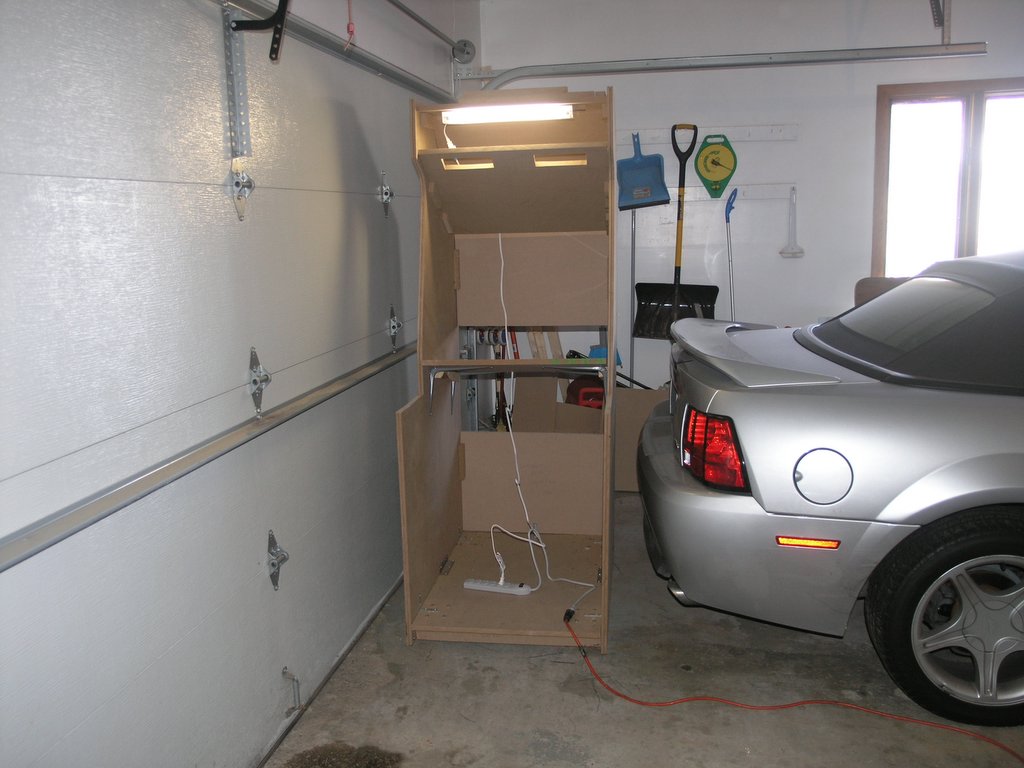
As the contruction went on, I definitely got better and using the tools. My first couple of cuts were pretty bad, but once I got used to the tools they got better. Most of my mistakes I was able to hide. One of the first mistakes was with mounting the casters. The book called for fixed casters, but I used rotating casters instead. When I mounted them, I did not leave enough room for them to swivel completely around. This lead to a "breaking" action every time I tried to push the cabinet backwards. Moving the casters and adding some scrap wood as directionals fixed the problem.
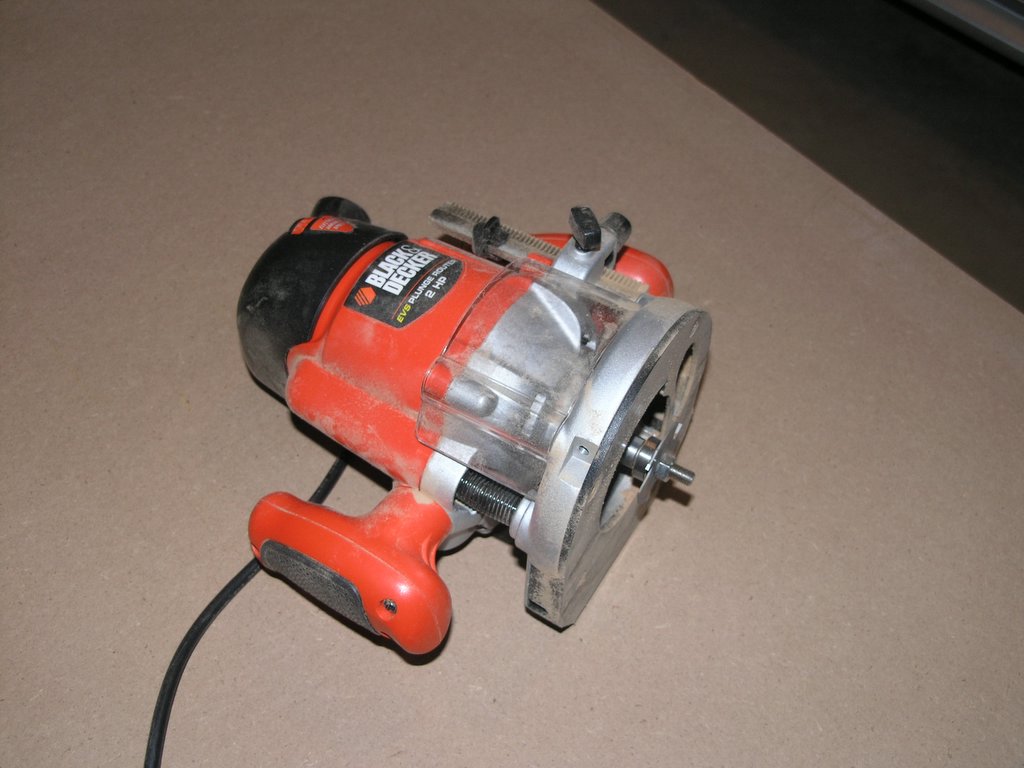
Routing for the T-Molding was pretty simple. I thought that this part was going to take a great deal of time, but the router went through the MDF like butter. Beware of the dust. This step creates a great deal of dust, make sure you wear a mask.

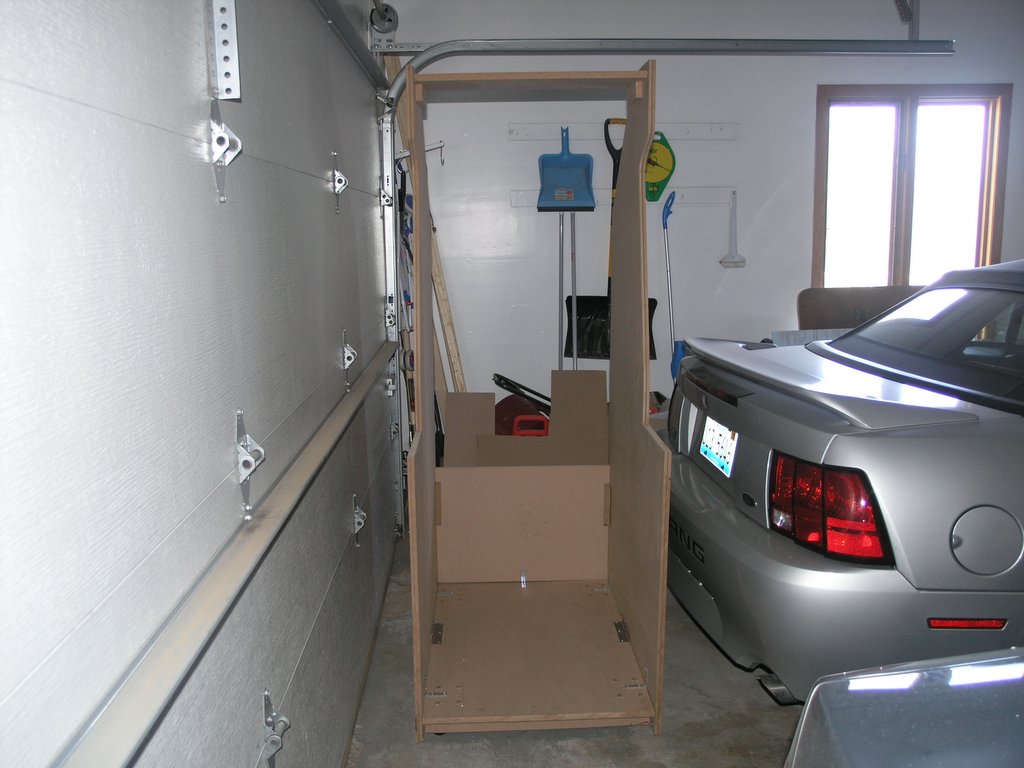
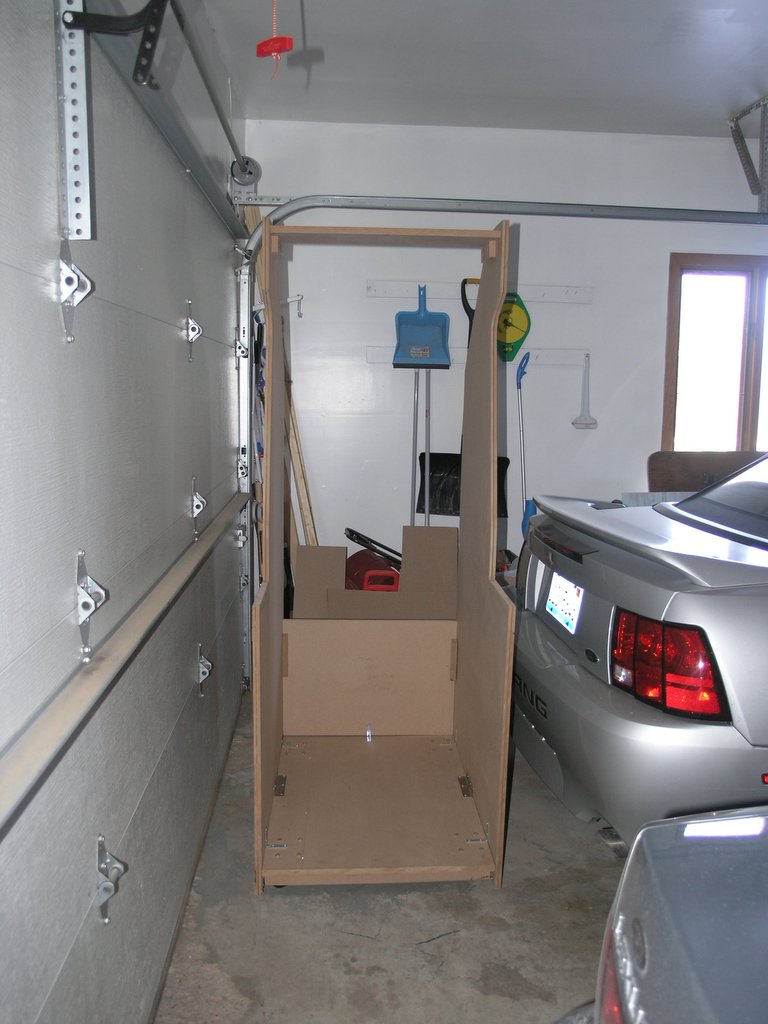
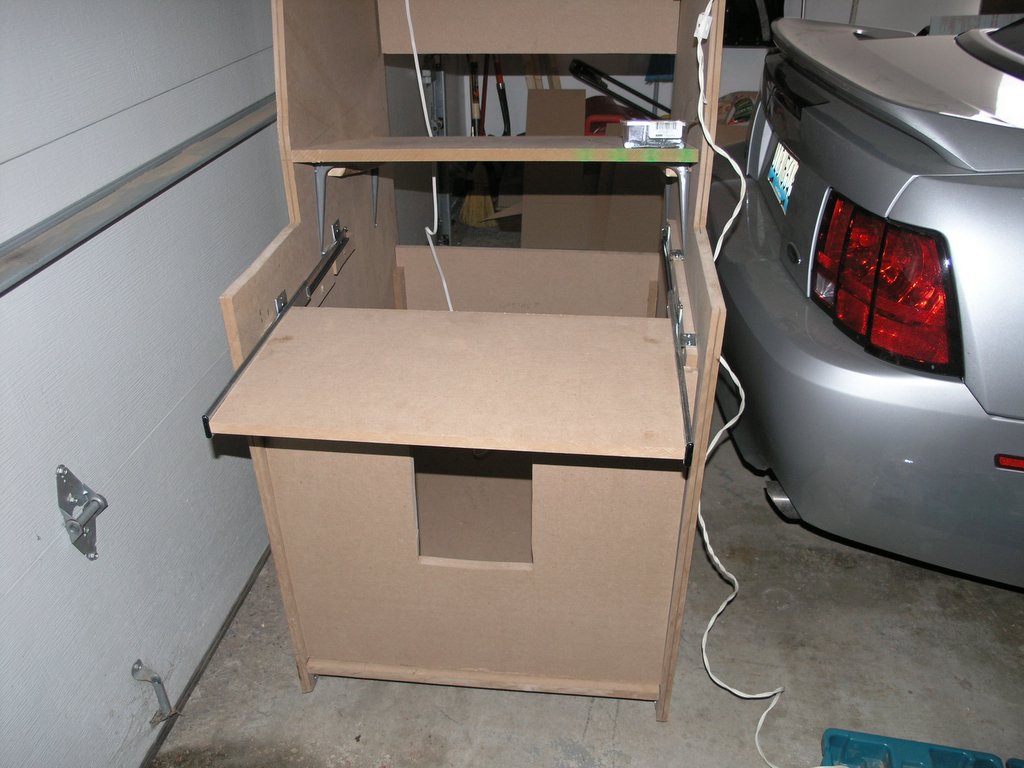
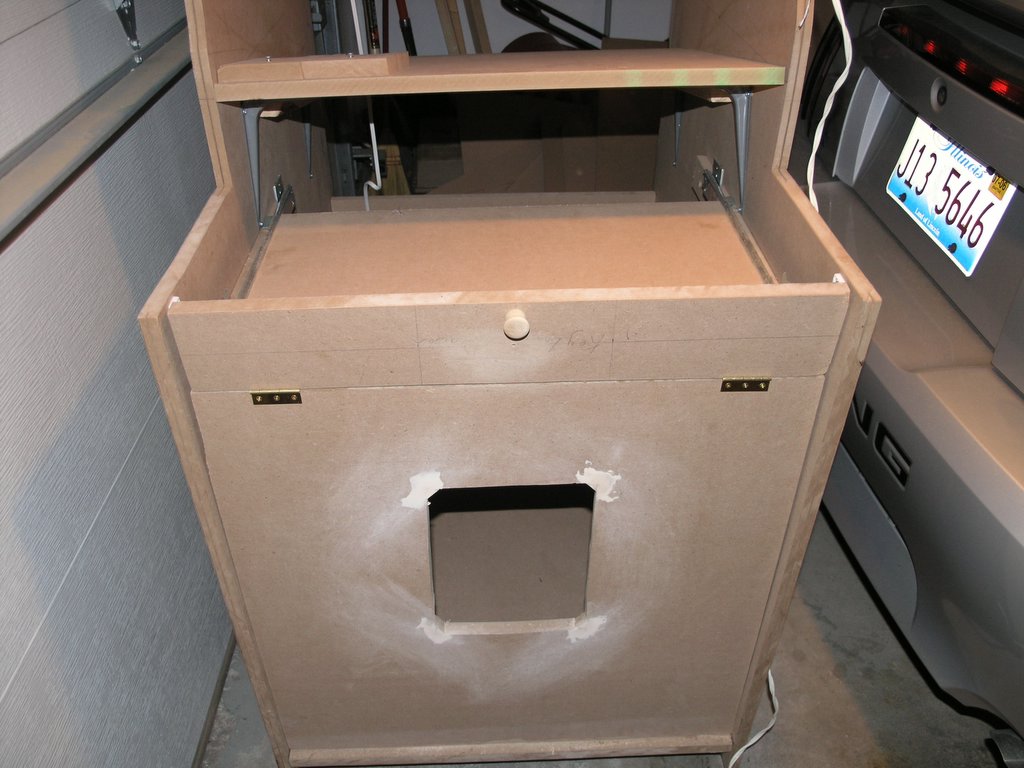
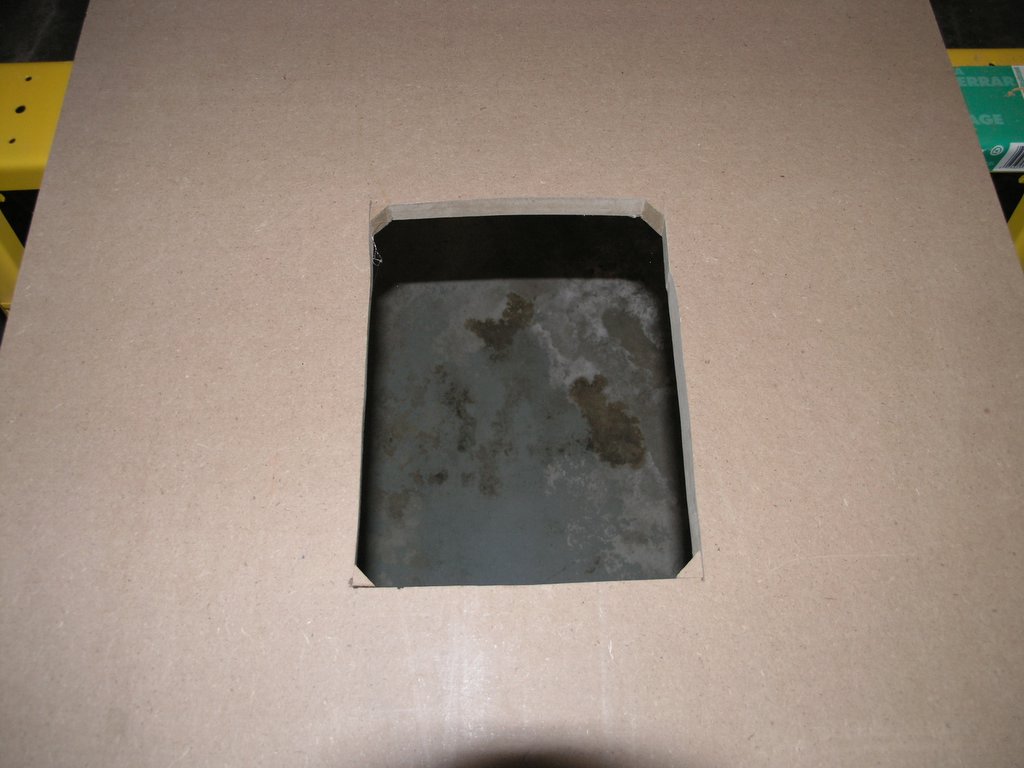
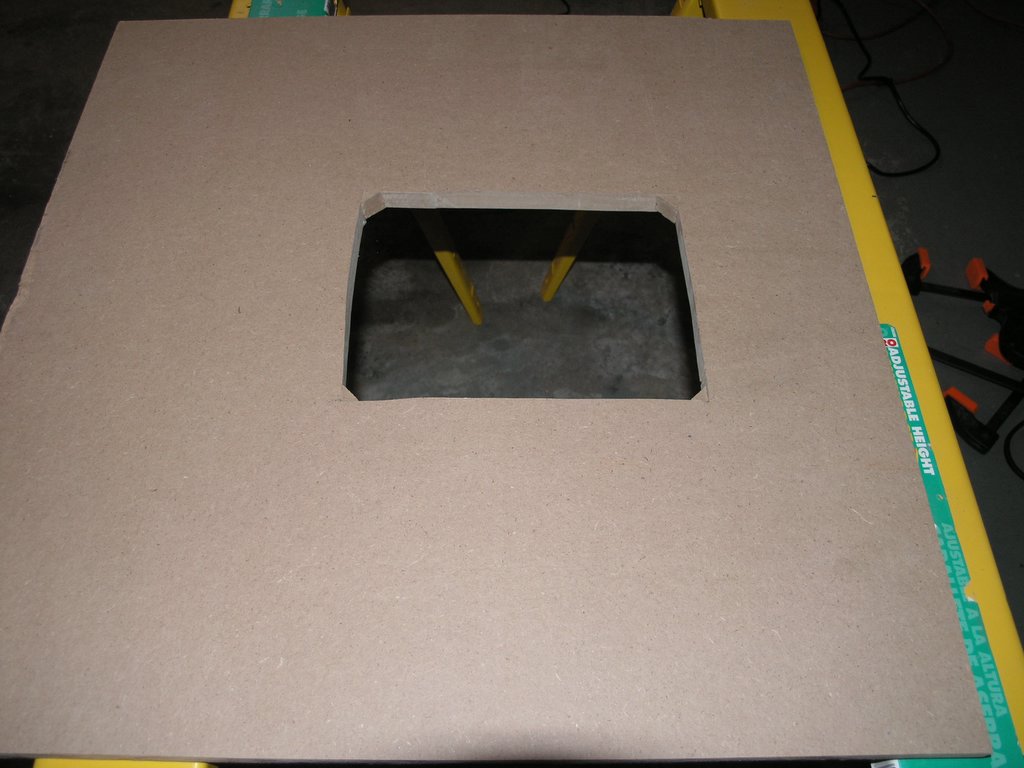
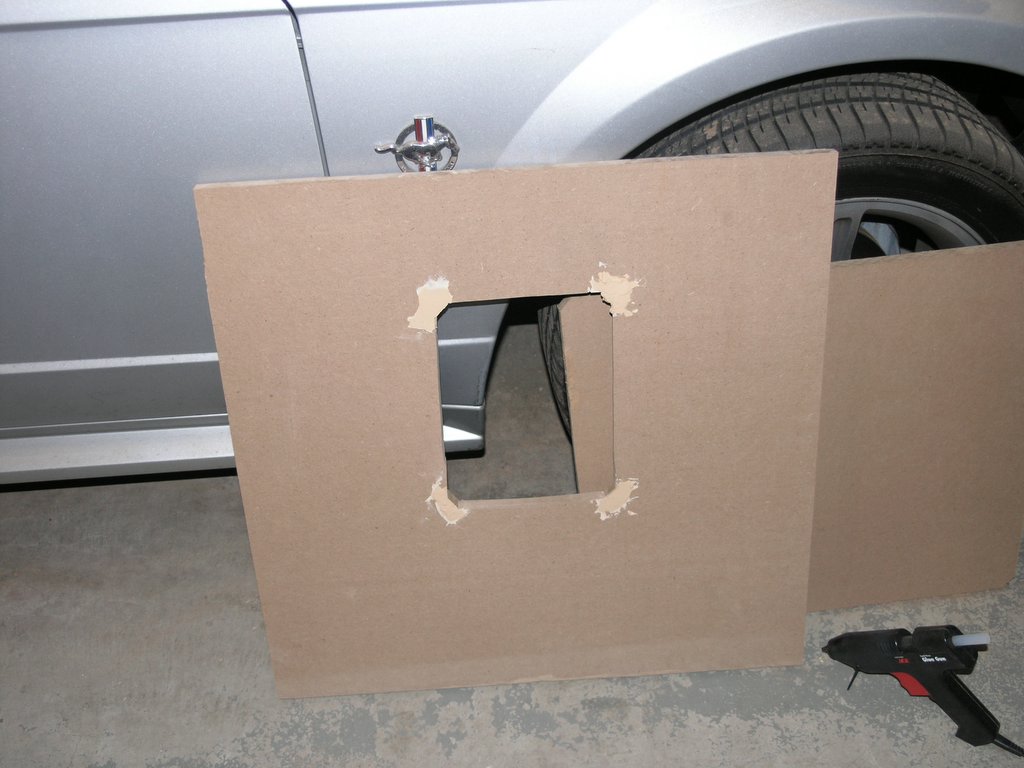
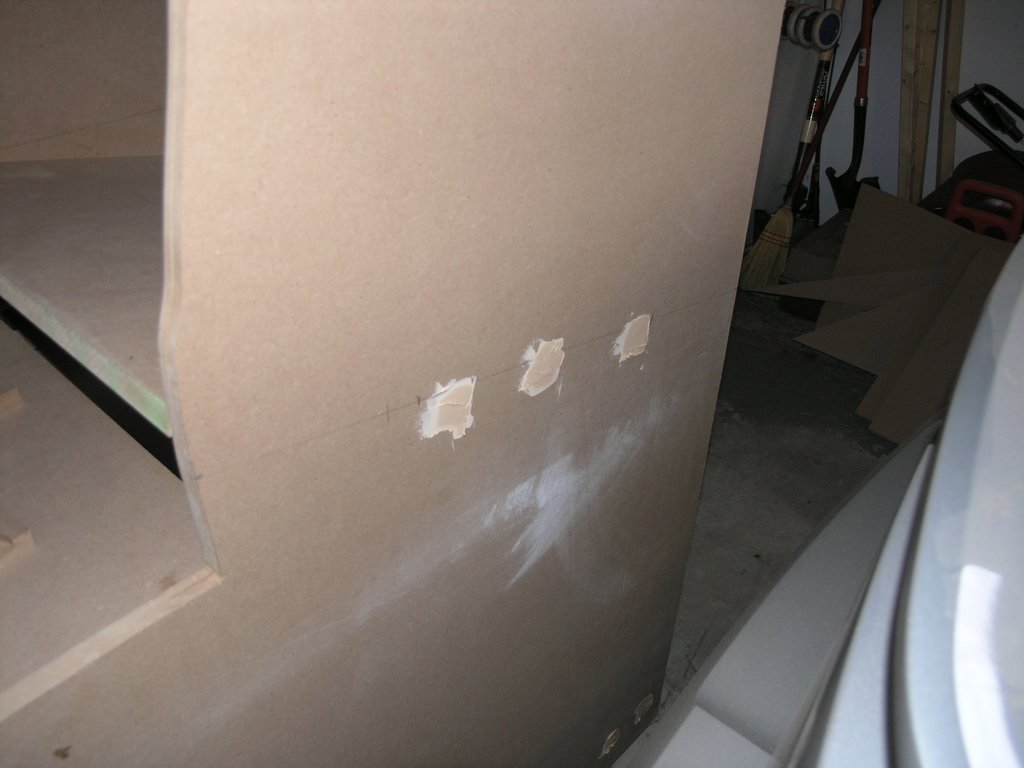
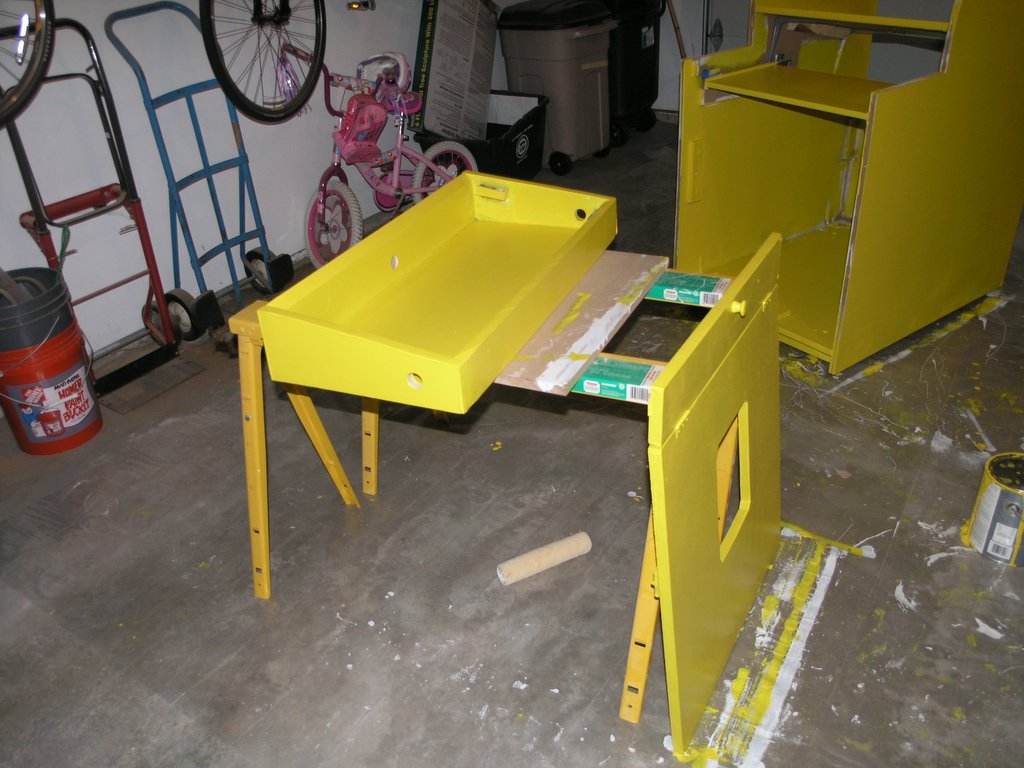
I didn't run into many problems with the actual cabinet construction until I cut out the hole for the coin door. I measured the length and width of the coin door, but I didn't take into account the fact the coin door's corners were rounded. When I test mounted the door, I noticed that rounded corners of the coin door did not cover the square corners that I created in my cut. To fix this I cut four corners off a scrap piece of wood that I had and hot glued them into the coin door hole. After adding some wood filler, sanding, and painting, you cannot notice the mistake from the outside of the cabinet.
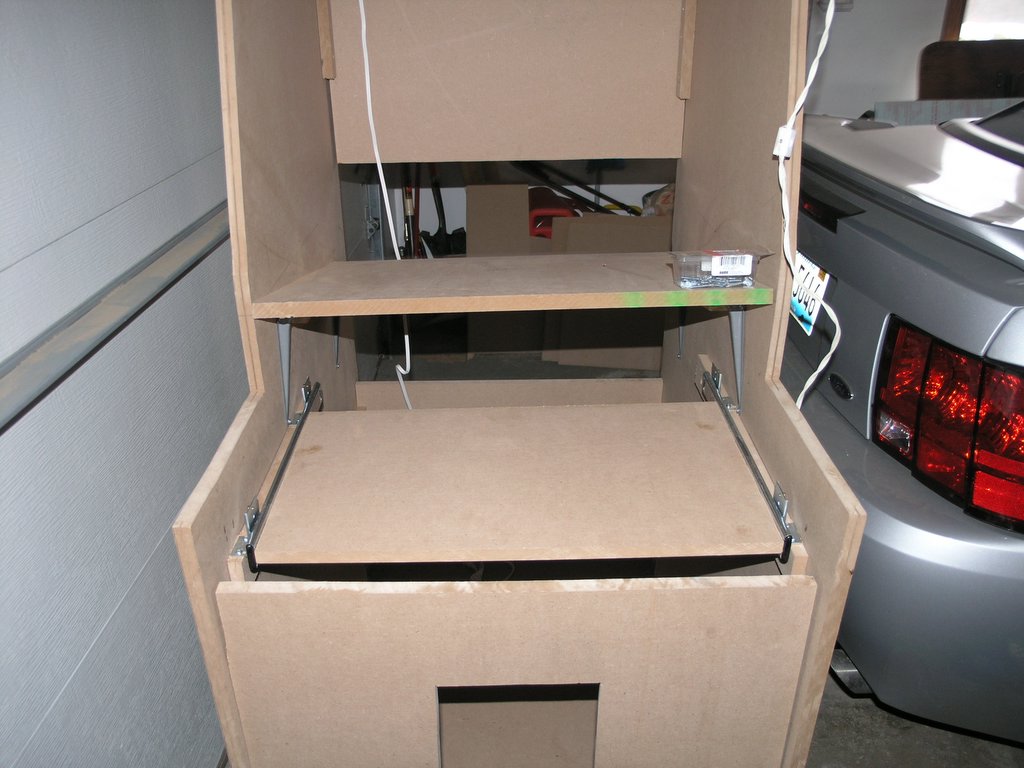
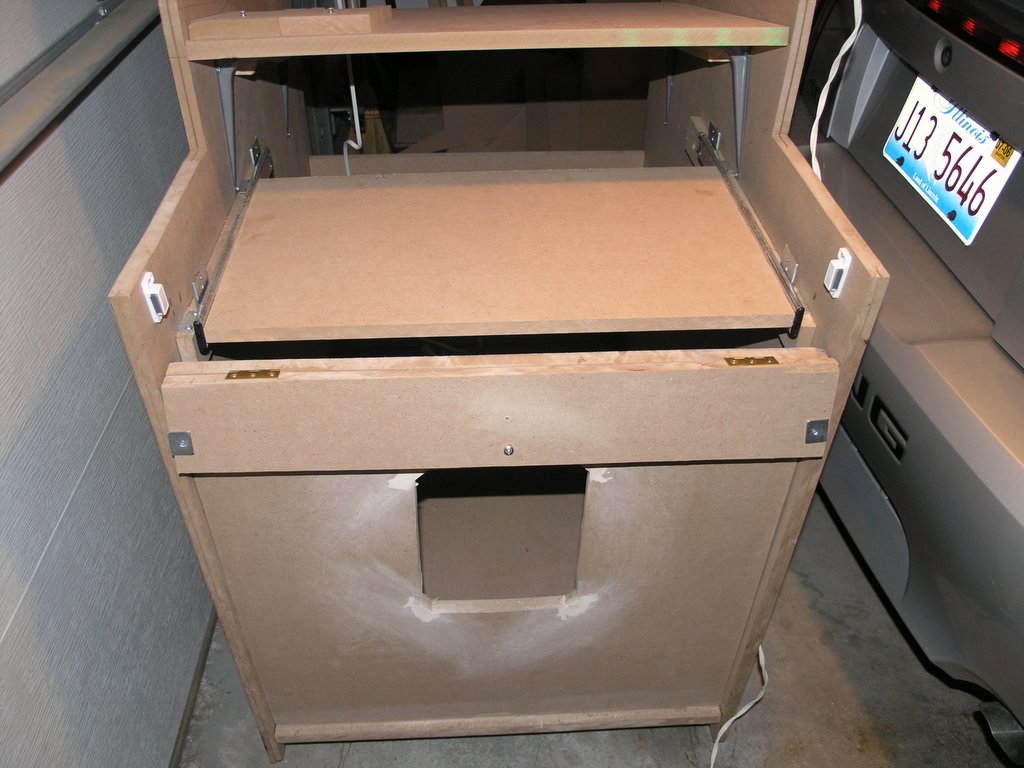
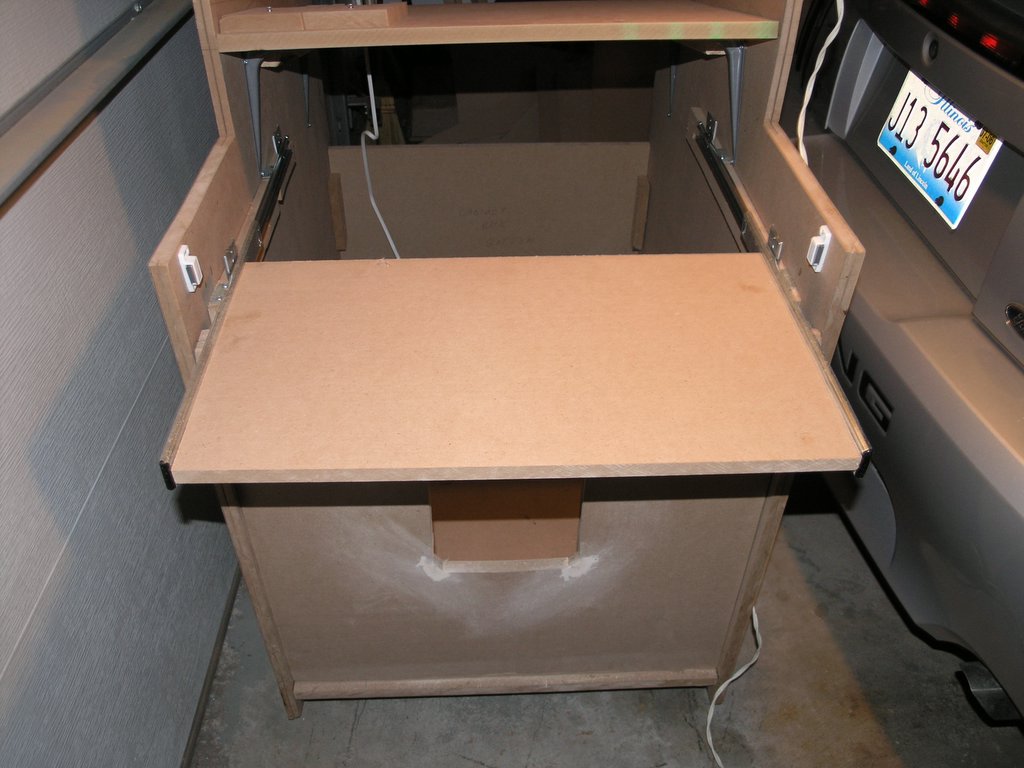
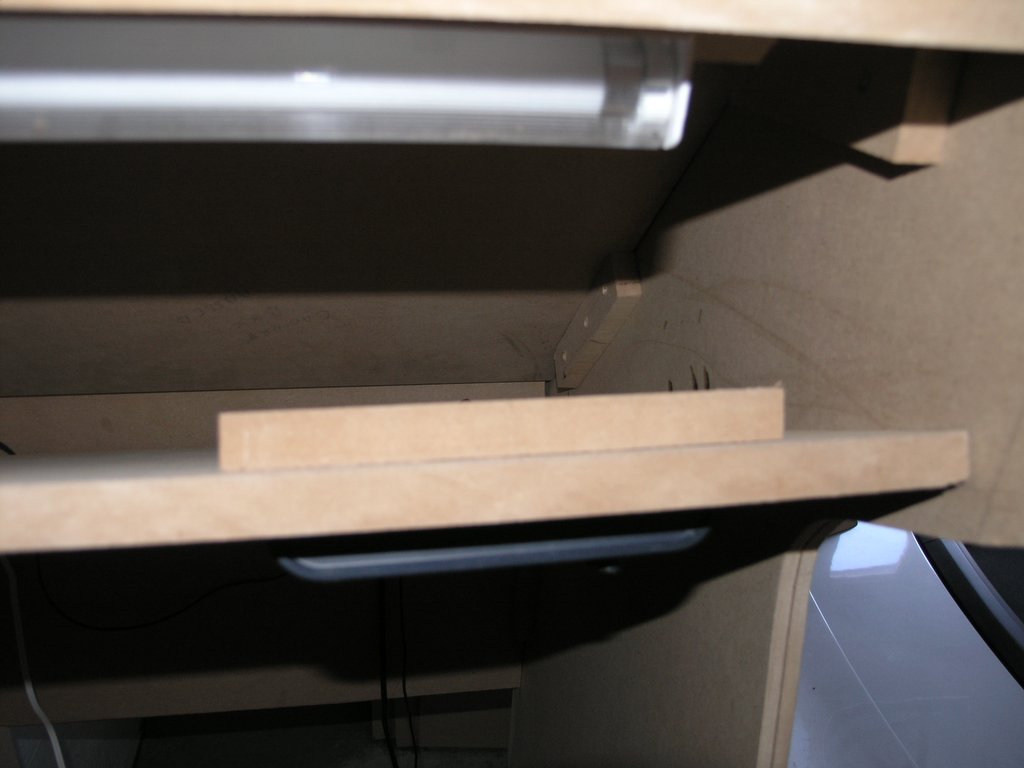
On of the things that I modified from the Project Arcade book was the addition of a keyboard tray. I'm glad I did this, I've needed to use it many times.
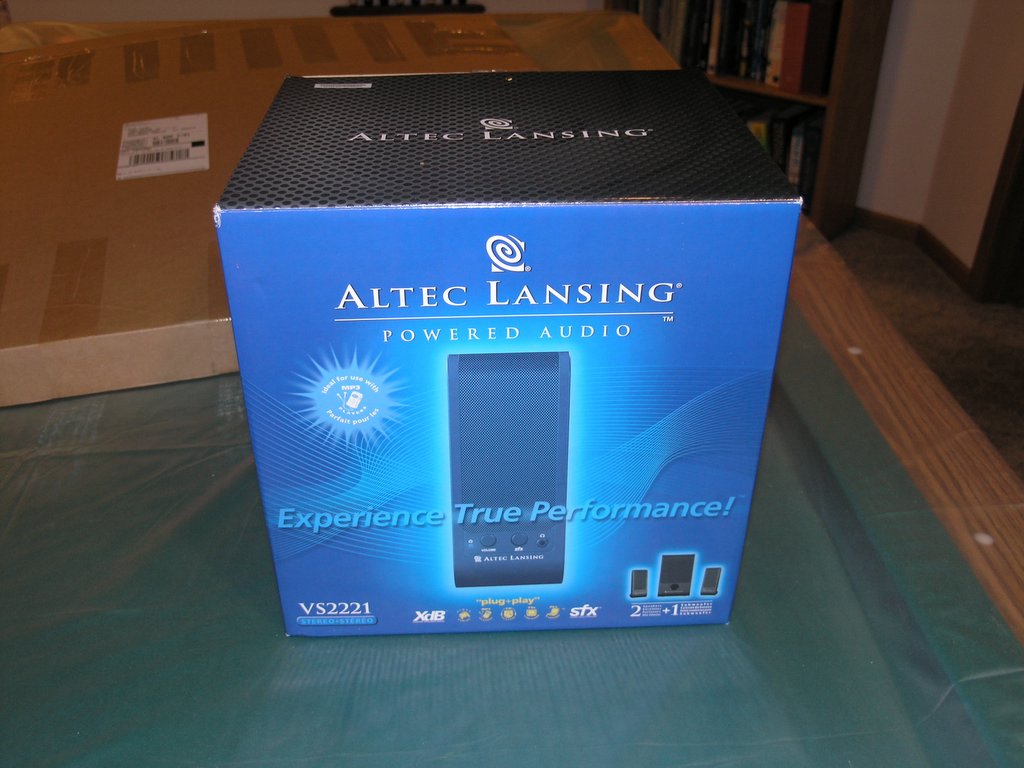
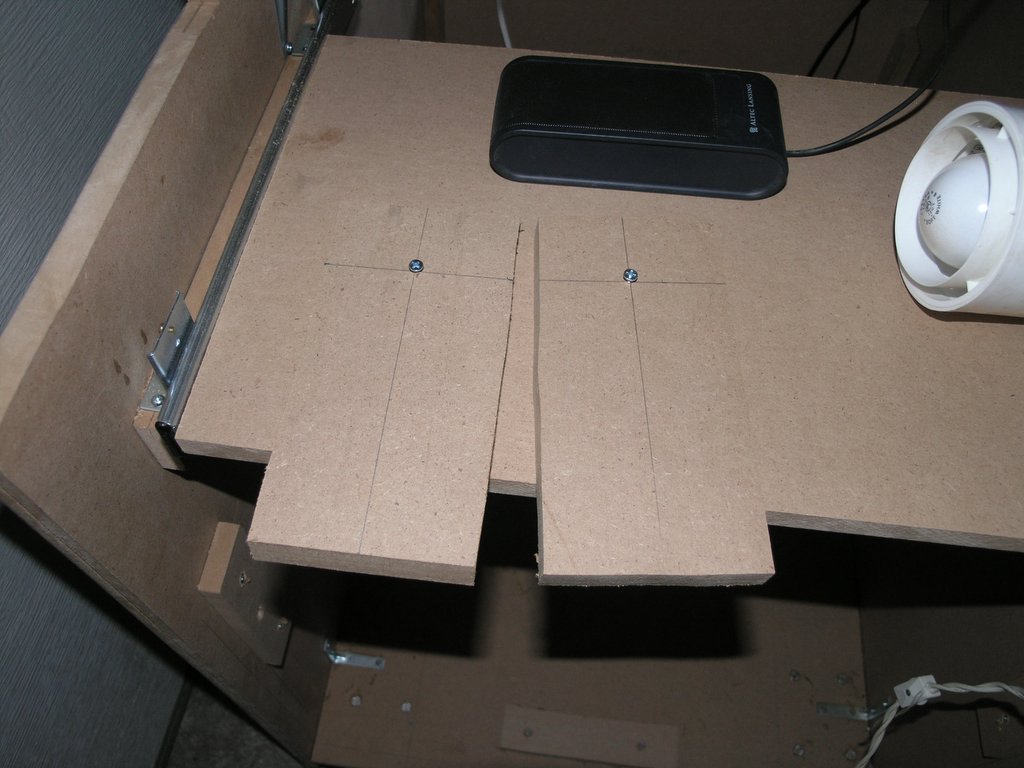
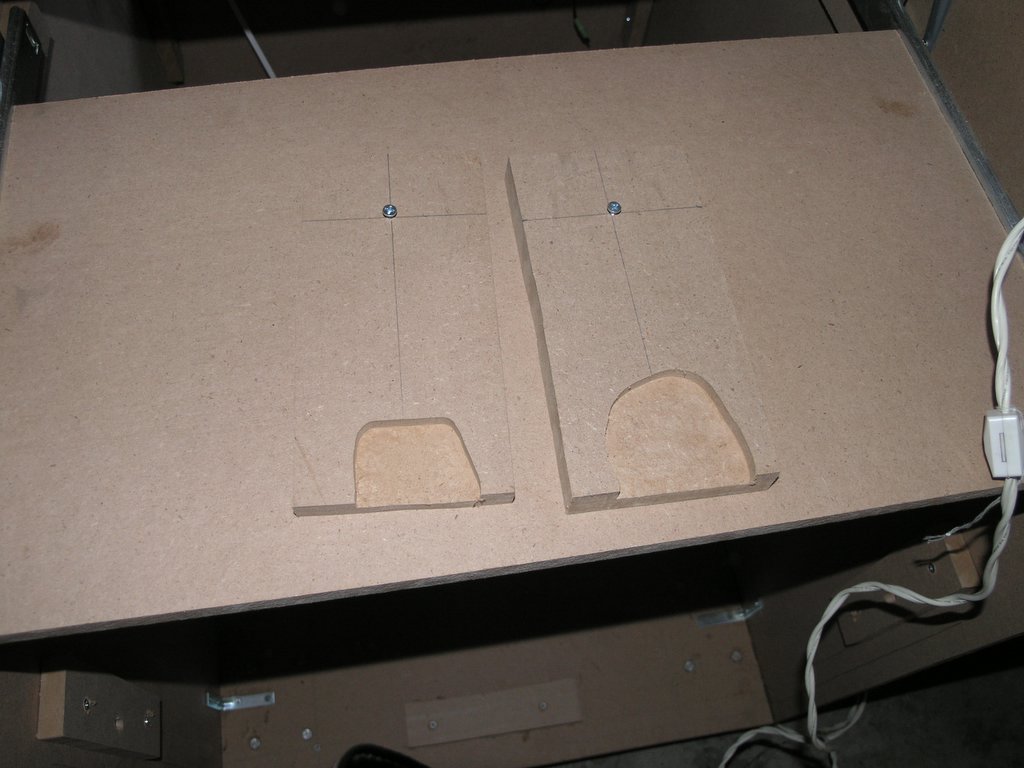
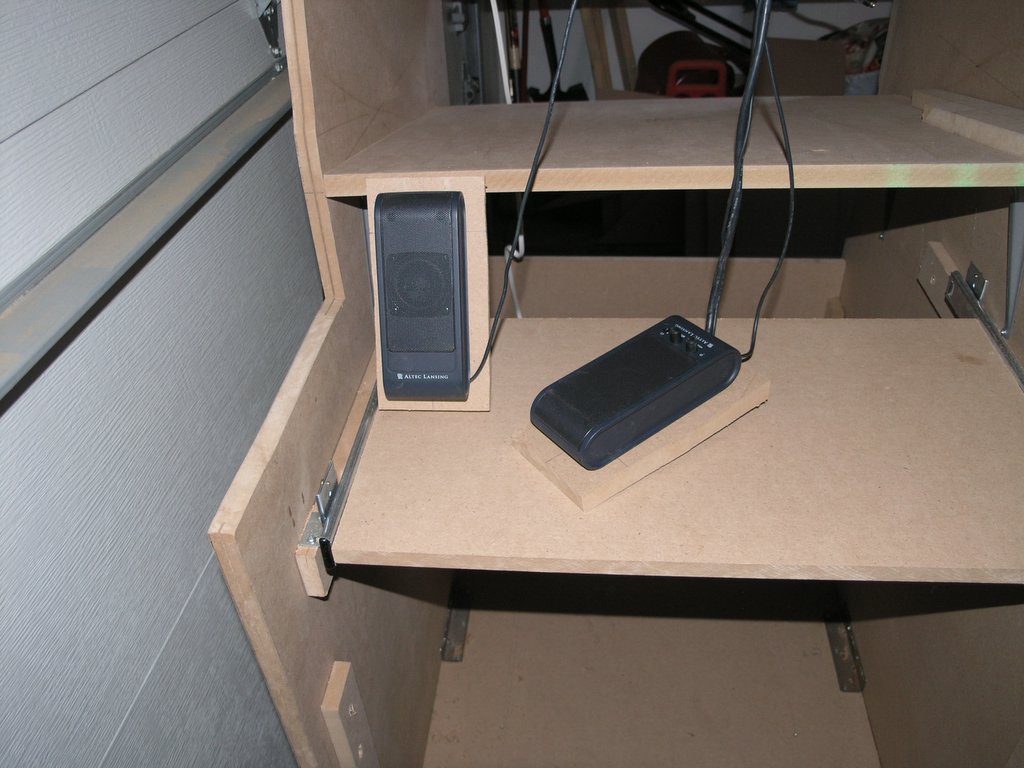
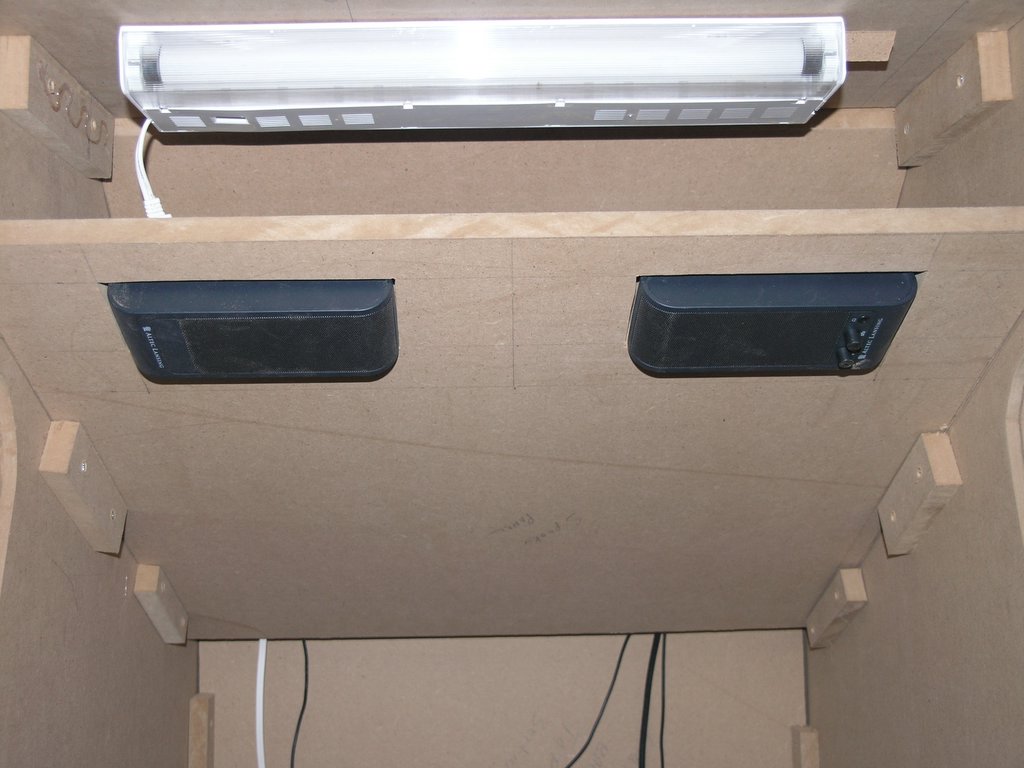
For speakers, I decided to go with the Altec Lansing VS2221 speakers. The thing that I liked about these speakers was the ability to remove the base and "wall mount" them. Using this feature, I found it very simple to mount the speakers. I simply created 2 bases for the speakers and routed out an area for the wires to pass through. They made a nice snug fit and the now the volume control is accessible to the user.

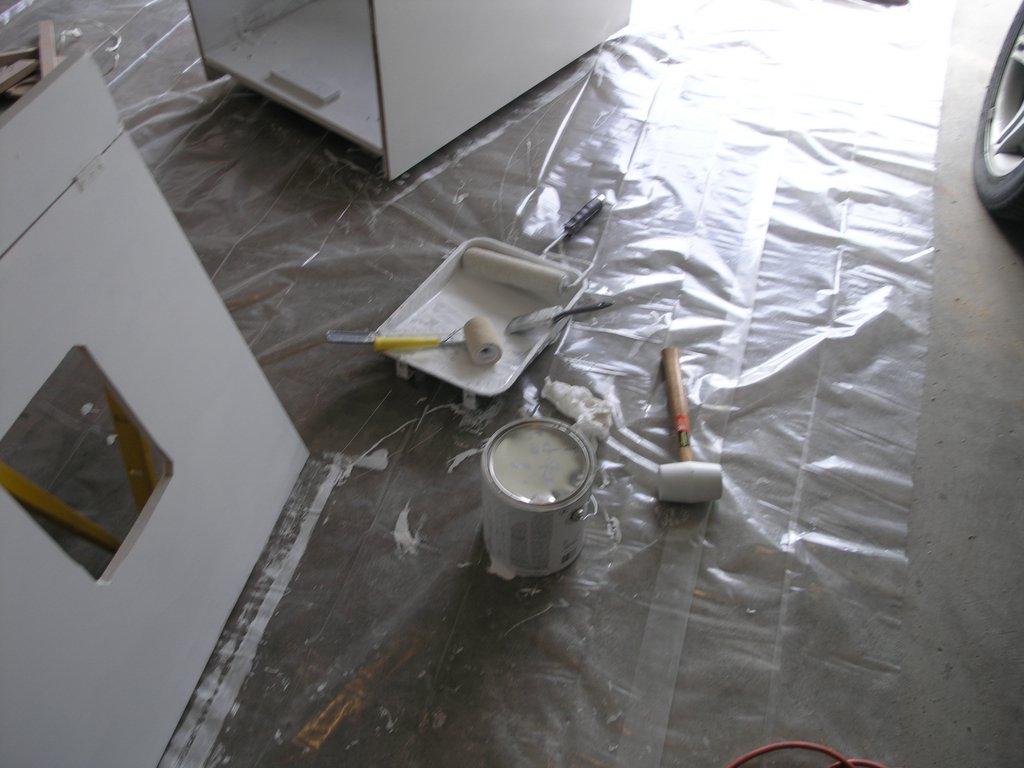
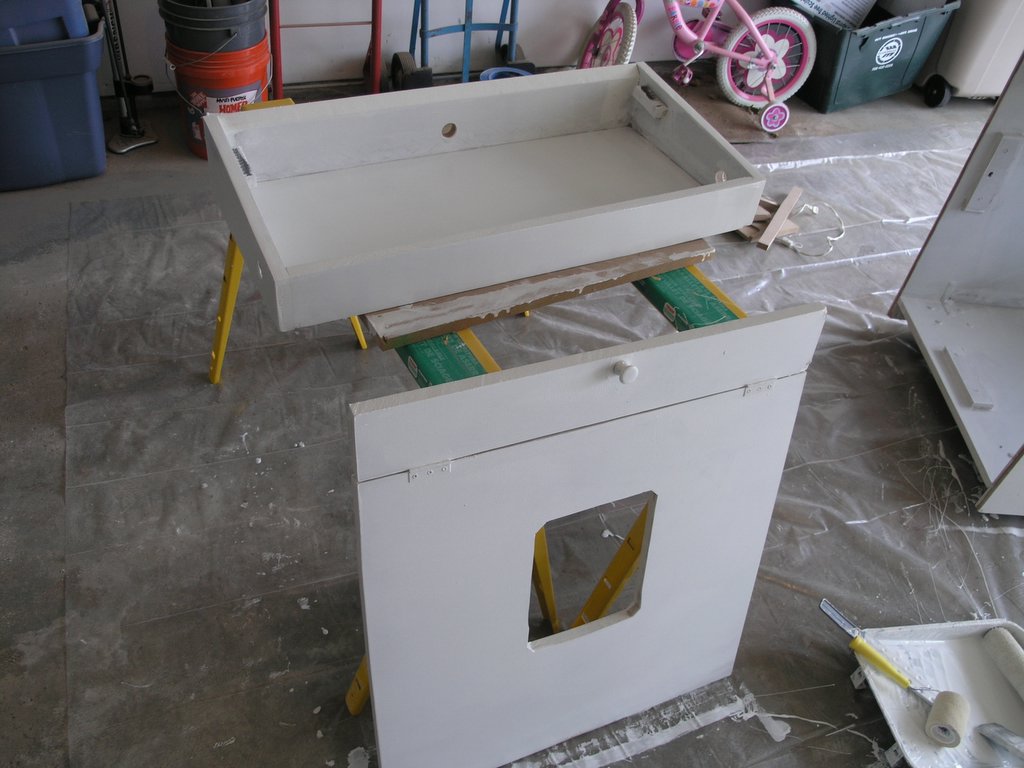
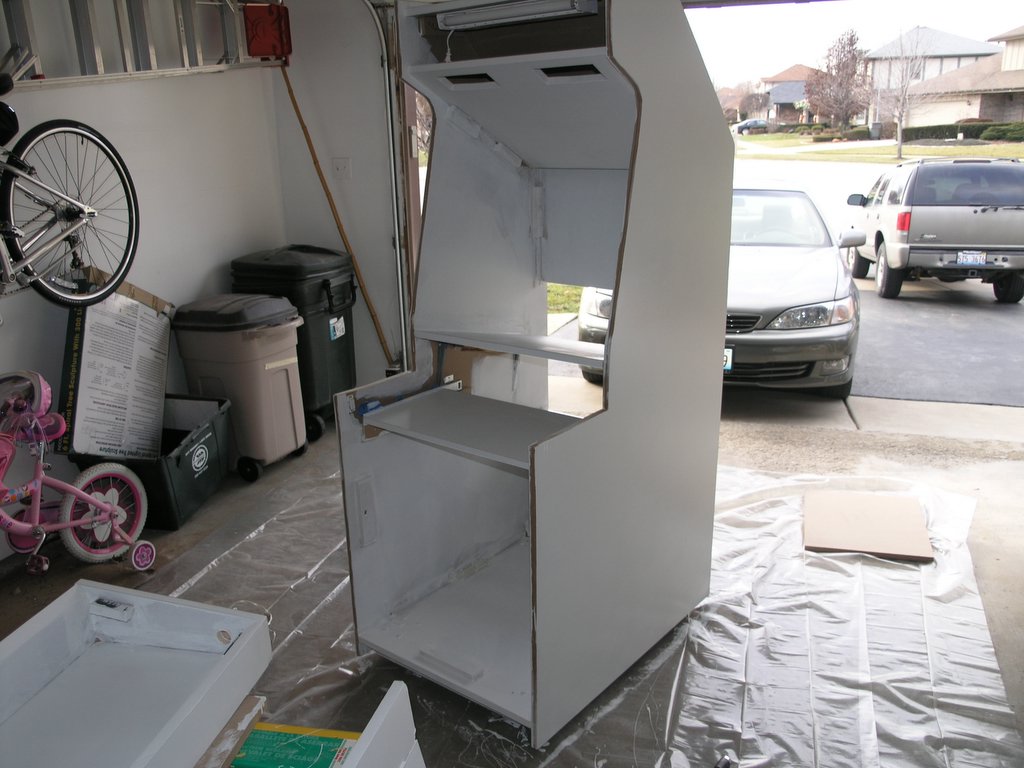
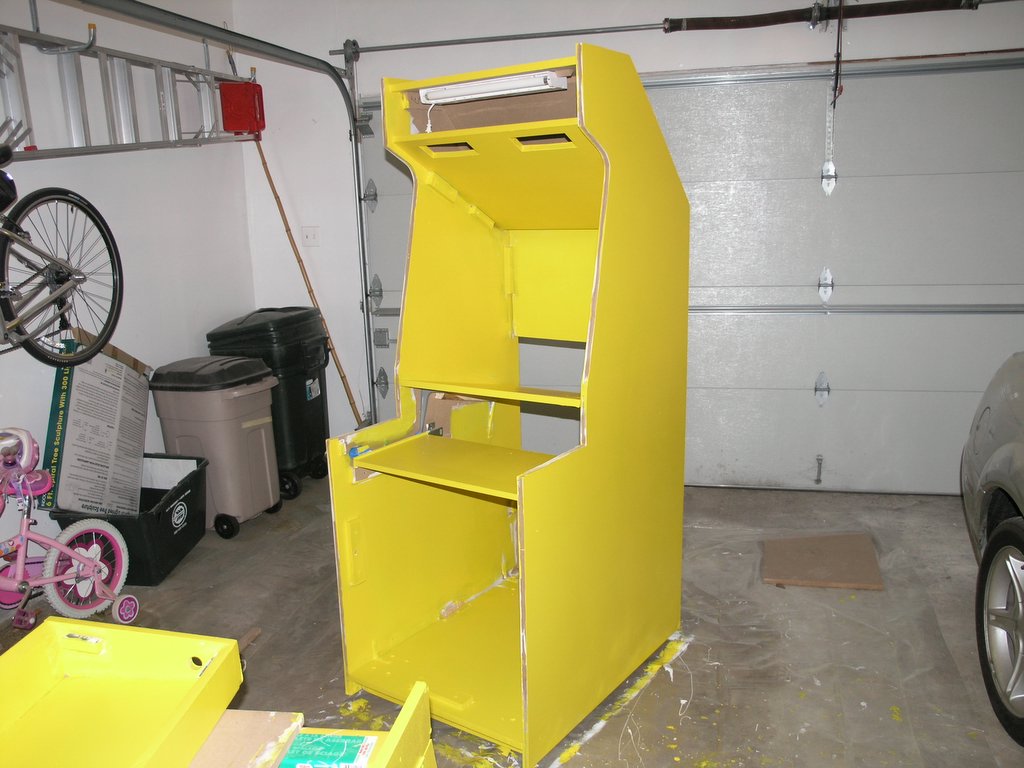
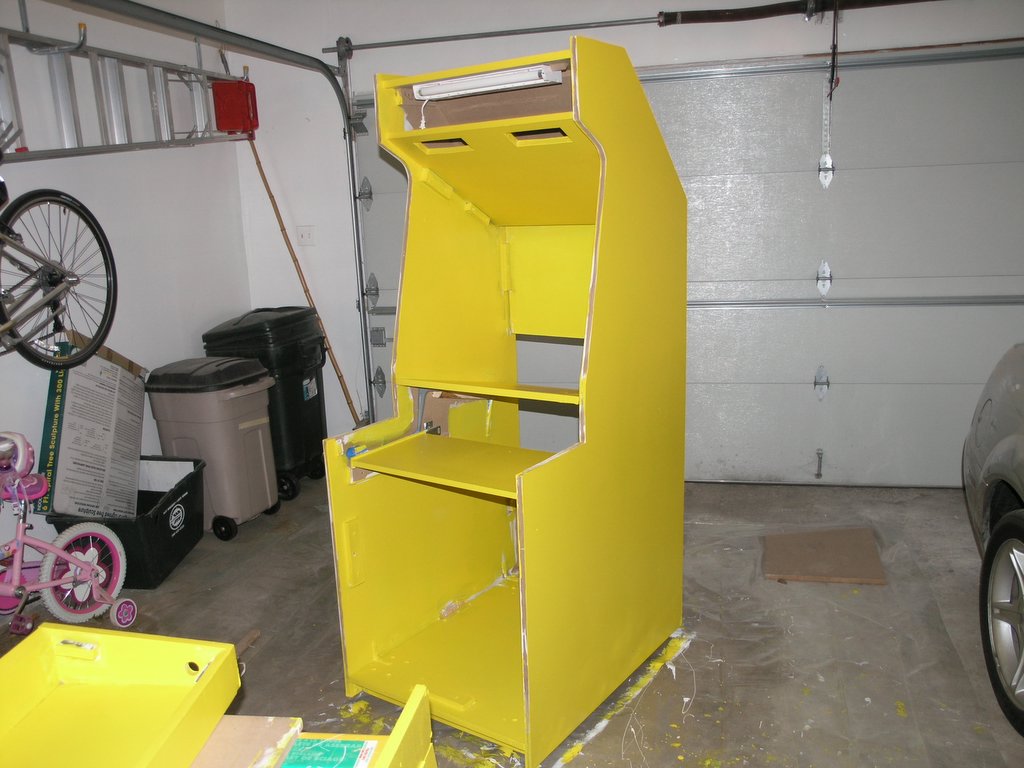
Applying the wood filler over the screw holes, priming, and painting was pretty painless. The color I chose was Blaze Yellow from Sears.
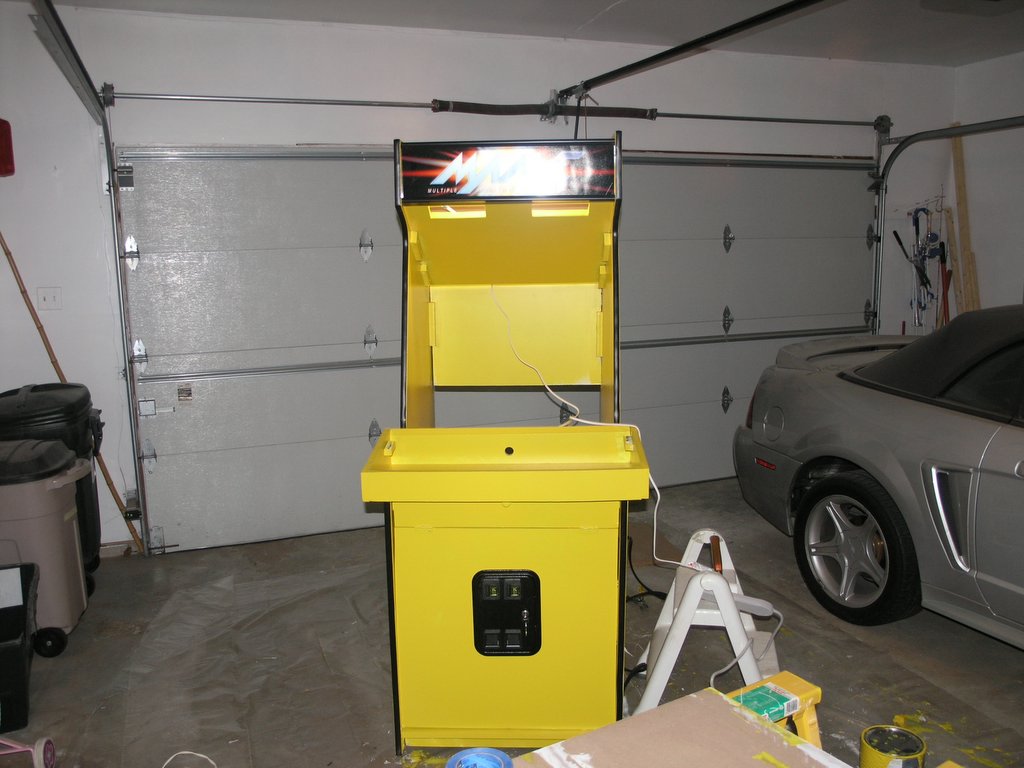
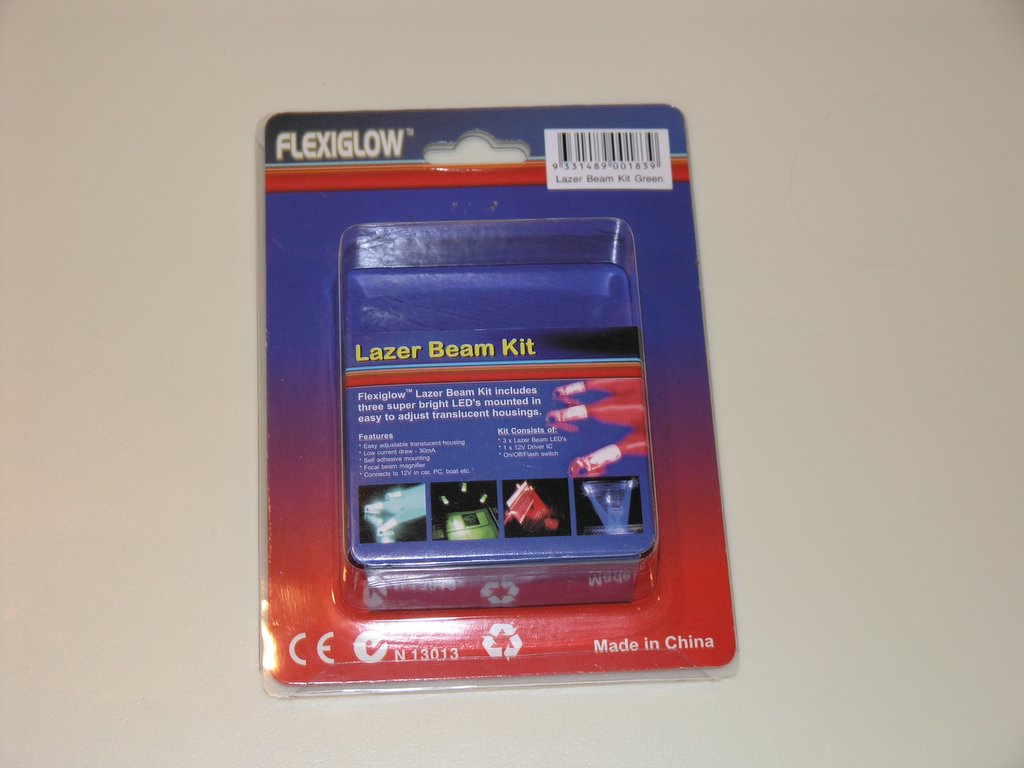
For the coin-door lights I used the Flexiglow Lazer Beam Kit from Directron. The kit contained 3 super bright LED's and a standard Molex connector to plug into the computers power supply. They worked great!